
This guide will focus on HP LaserJet Printers with built-in JetDirect Network Cards.
The following instructions apply to printer set-up:
If
the printer is plugged into the network router you must first change
the automatically assigned Internet Protocol address to a permanent
address.
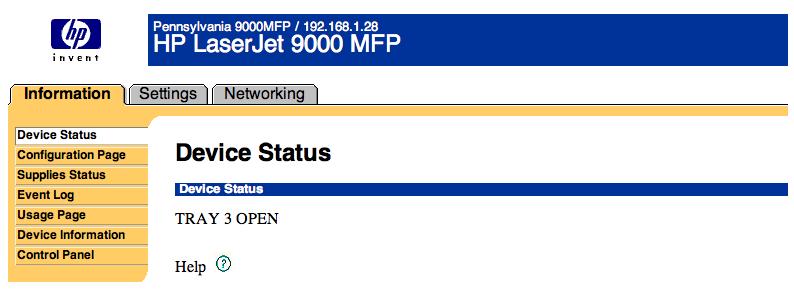
1. Using the printer’s LCD screen, press the “Menu” button, select “Information”, and then select “Print Configuration”.
2. Record the Internet Protocol (IP) address under the “TCP/IP” section of the second Configuration page (ex: 192.168.1.28).
3.
Locate a computer that is already connected to the desired network and
open the browser (Internet Explorer, Netscape, Firefox, etc).
4. Enter the previously recorded IP address (from step 2) into the browser’s address bar (ex: http://192.168.1.28).
5. When screen loads, select the “Networking” tab on the default information screen.
6. After clicking on the “TCP/IP” tab, select “Manual” from the “IP Configuration Method” drop-down menu.
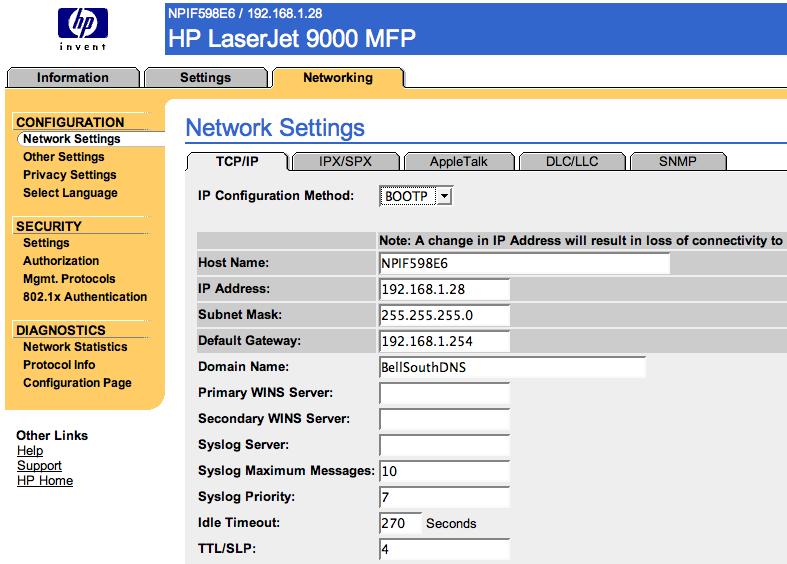
7. Change the last two digits of the number in the “IP Address” window (as desired).
8. Click “Apply”. Note: The screen may appear unresponsive because the address has been changed.
The following instructions apply to all the computer(s) associated with the network printer:
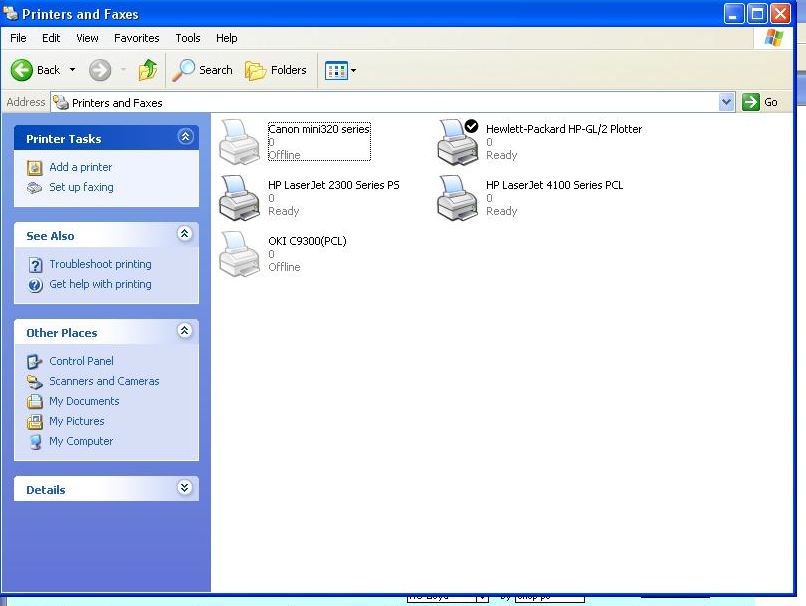
1. Go to: “Start” / “Control Panels” / “Printers and Faxes” / “Add Printer”.
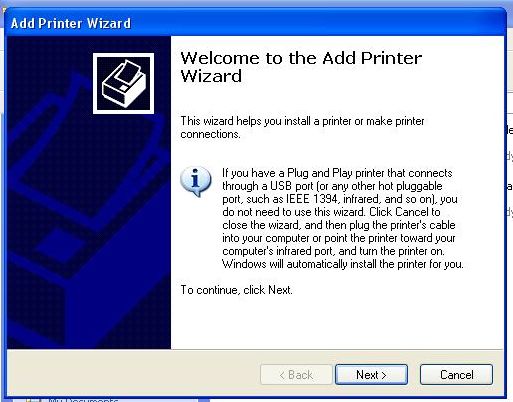
2. After the printer wizard appears, click “Next”.
3. Choose “Local Printer attached to this computer”.
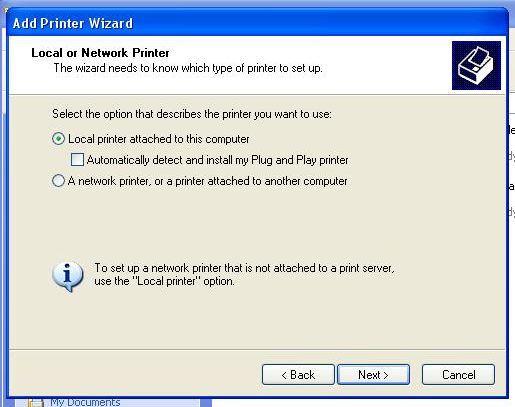
4. De-select “Automatically detect and install my Plug and Play printer”.
5. Click “Next”.
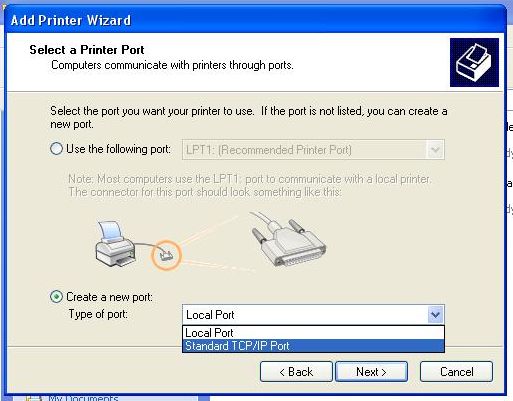
6.
On the “Select a Printer Port” screen, select “Create a new port”
select from the drop down menu “Standard TCP/IP Port”. Click “Next”.
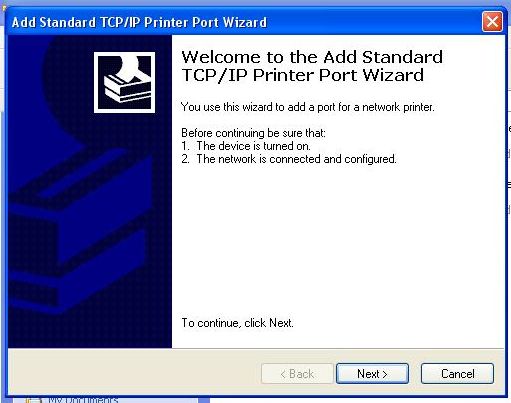
7. When the “Add Standard TCP/IP Printer Port Wizard” appears, click “Next”
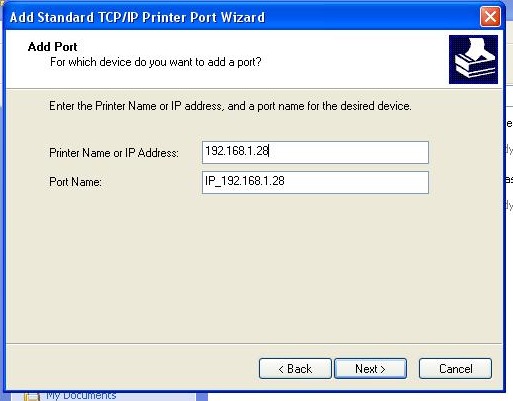
8.
Enter the previously recorded Internet Protocol address (from step 2)
into the “Printer Name or IP Address” window. Note: The port name should
automatically appear.
9.
Click “Next”. Note: The “Completing the Add Standard TCP/IP Printer
Port Wizard” screen should appear if the process was successful. If this
screen did not appear, verify that the IP address is correct and
enables you to login to the printer.
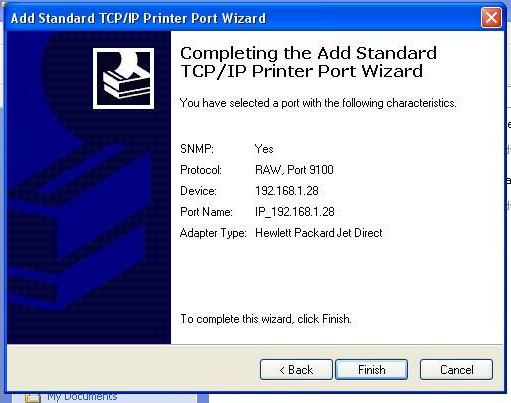
10. Click “Finish”.
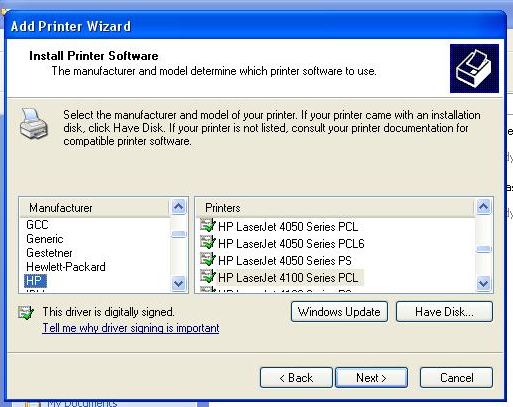
11.
Click “Next” until the “Install Printer Software” screen appears.
Scroll down and select the printer’s manufacturer and the type of
printer. If the printer is not listed, select “Have Disk” and insert the
CD-ROM that accompanied the printer. Click “Next”.
12.
Assign a name to this printer and enter it in the “Printer Name” text
box. Select “Yes” to use the printer as the default printer. Click
“Next”.
13. Select “Yes” to printing a test page. Click “Finish” to enjoy your network printer!